From the laser material rack project I had a bunch of MDF offcuts left. I’m always in need of more space to work on. So a plan started growing in my head. When I was a young guy, probably about 3rd or 4th year of my electrician training, I was working on several projects at ETA. ETA is a Swiss Watch Company, probably best know for swatch. One of the projects I was working on was the replacement of the old phone system. What I did was going to each and every phone socket, replace them where needed with a tt-83 socket, reconnected the phone temporarily back with adapters. It could be quite a detective work to to find certain phones, in areas or rooms not used for years. During this work I came across areas where some of the high end watches are made. It was like watching doctors at surgery’s. All in their white coats, a watchmaker magnifier squeezed in their eyes, almost borg like. The desk I make resembles how I remember the desks those expert watchmakers worked on.
I started with cutting the MDF in 54 mm wide strips. Why 54 mm? The MDF is 18 mm thick, and with 3 layers glued together i get something nice square.
With a bunch of stripes I started to lay out the side parts. I wanted to overlap the joints as much as possible and leave in notches for the sideways stretchers. So it got quite puzzle of all lengths of strips. With lots of glue and nails I put everything in place, made sure it was all square and then clamped everything. Next I made the stretchers and let them dry the same in a big pack. It pays off to clean as much of the glue up that squeezes out on on the side. Guess how I know.
I forced them all apart and could not wait to see if it all fits together. There where only a few spots that needed some more cleanup. I used then a expanding wood glue in the hope that most small gaps are nicely filled. With the sander I was again cleaning up the glue squeeze out. Then I ran a round over router bit over every edge. With lots of clamps and straps I squeezed it all together, trying as good as possible to have it all square.
Unfortunately I don’t have many pictures of the table top. I had a few ideas on features the table needed to have: 2 layer thick, rear and sidewall, no visible screws, and no wood screws. My idea was to put some drive-in-nuts between the two sheets before gluing them together. To get the positions correct I waited until the base part was dry, marked out and drilled the holes. then aligned the lower sheet of the top, fixed it in place with some clamps and drilled the holes. Before gluing the sheets together I made some room for the drive-in-nuts with a forstner bit. To avoid having the treads full of glue I used some cutoffs from bolts (yes, I keep cutoffs when shortening bolts) that can stay in there for gluing and then also for painting.

Next came filling all the dents and cracks, followed by sanding and another round of filler and sanding. When I had the under frame on it’s back I also drilled holes to add drive in nuts for the leveling feet. The floor in the barn has every possible angle, so everything needs leveling feet.
Eventually I was happy with the filling and sanding. It is crazy to see how much the MDF primer is soaking in. About 3 or 4 rounds of primer and sanding did the trick however.
For the color I went with an industrial looking green. After the first layer I gave it another light sanding. I don’t quite recall if I added a 3rd Layer or not.
The feet are again made out of hockey pucks. This time I only drilled halve way trough in a size slightly smaller then the head of the screw. Welded 2 nuts on at the end and did a terrible job at cleaning up the nut afterwards.
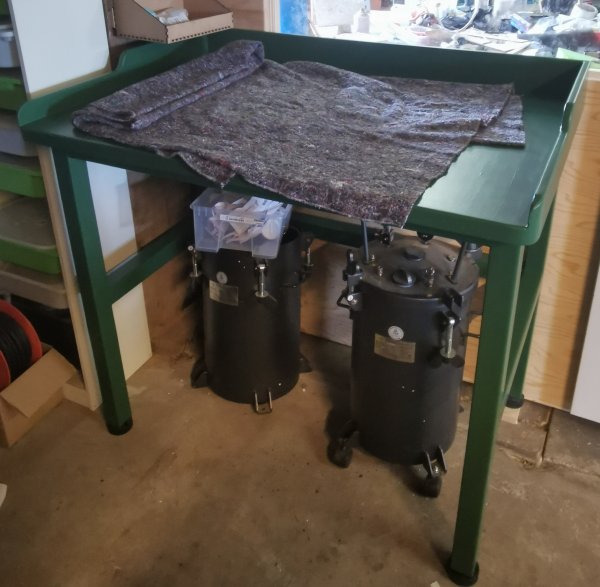
After letting the final layer of paint dry 2-3 days it was time to move the table in its position and install the top. The table moved position already, where having a removable top came in handy.
Until now, the MDF table seems to hold together OK.